
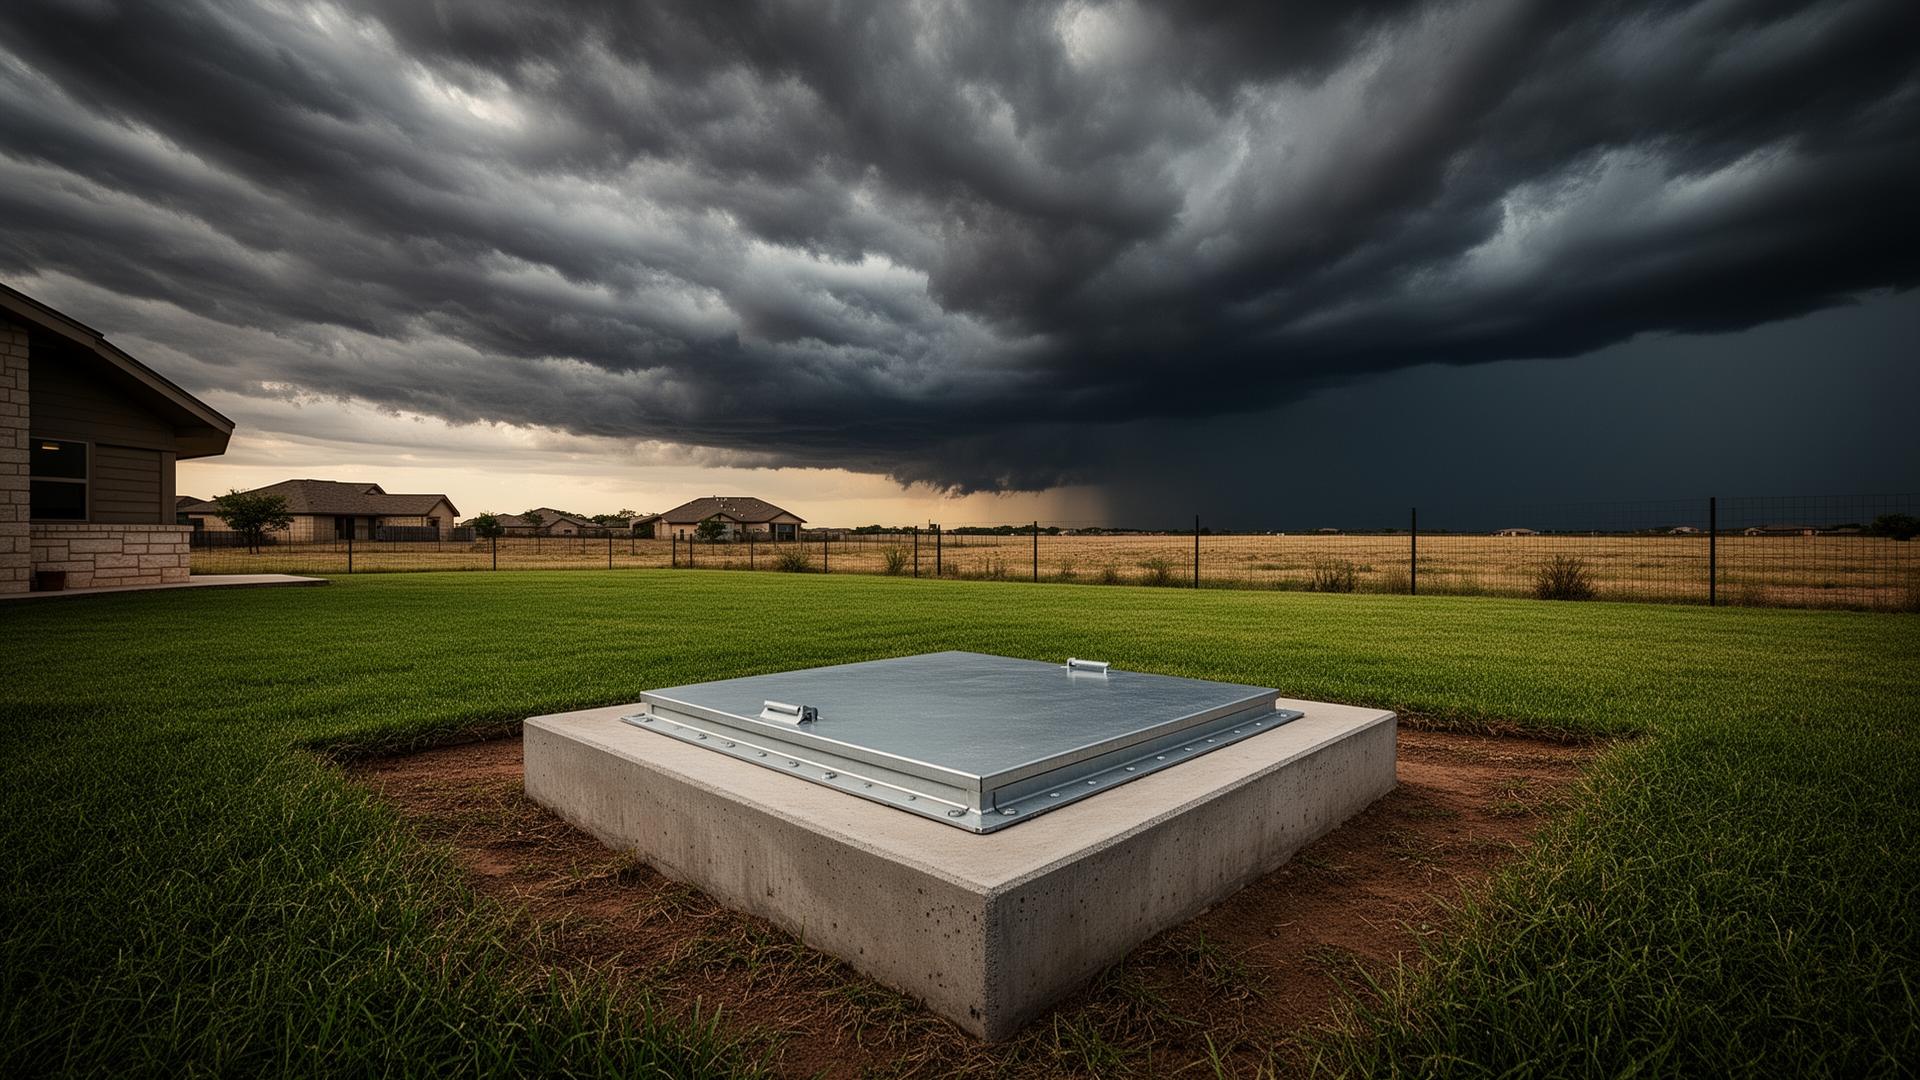
Professional Storm Shelter Installation
A shelter is only as reliable as its installation. Every Sheltris shelter is installed by our professional crew — most in a single day.
Concrete Strength
Shelter Weight
Wind Rating
Installation Time
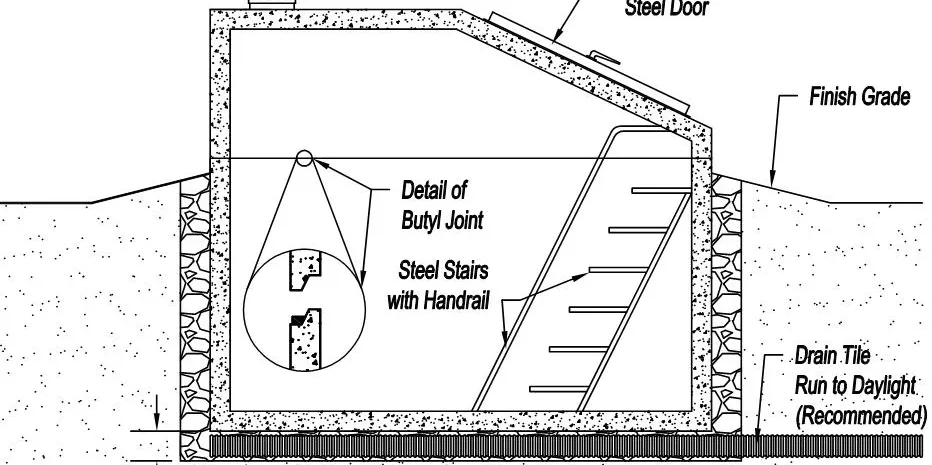
Step-by-Step Installation
Site Assessment
We evaluate your property for optimal placement, soil conditions, utility clearances, and drainage patterns. Every property in West Texas is different — caliche depth, yard access, and grade all factor into the plan.
Permits & Scheduling
Most municipalities require a building permit for storm shelter installation. The homeowner is responsible for obtaining the required permit before installation begins. We can provide manufacturer specifications, site plans, and documentation to support your application. Once your permit is approved, we schedule your installation date.
Excavation
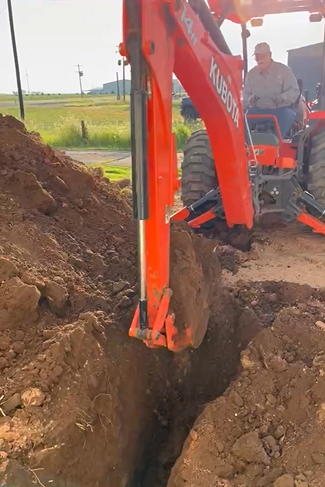
The site is excavated to 52 inches deep, sized precisely for the shelter. Lubbock's caliche layer requires professional equipment and experienced operators.
Gravel Base
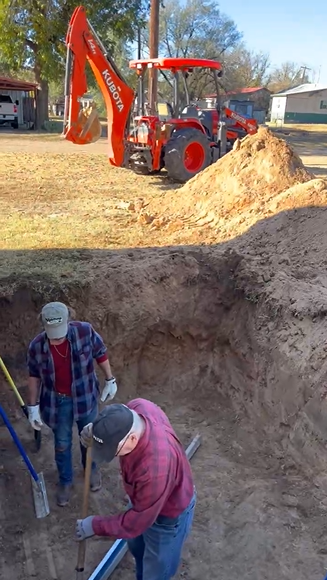
A 6-inch compacted gravel base is laid at the bottom of the excavation. This provides proper drainage and a stable foundation for the shelter.
Shelter Placement
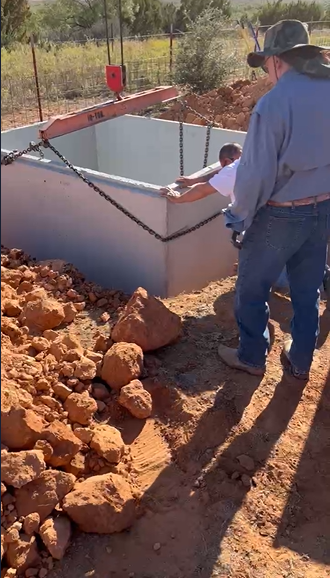
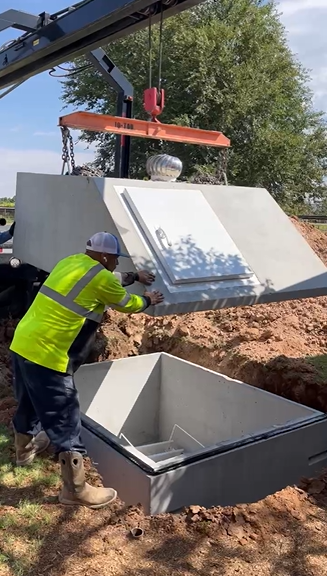
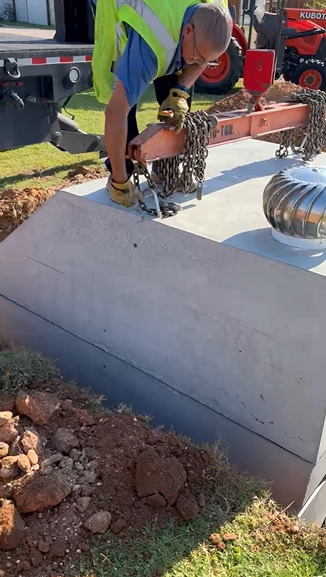
The reinforced concrete shelter is lowered into position using a crane. The base is set with 3 inches exposed above grade.
Sealing & Securing
Butyl sealant is applied before lid installation. The lid is secured with manufacturer-specified straps and bolts.
Final Grading
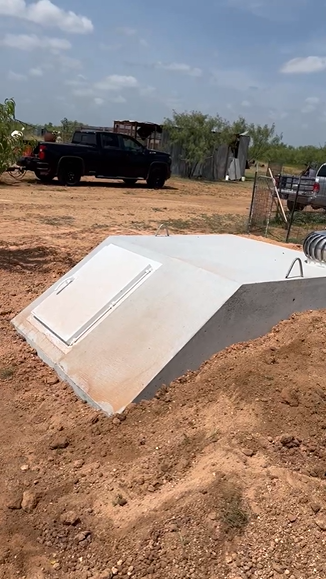
The excavated soil is backfilled and graded to direct water away from the shelter. Your yard is left clean, accessible, and properly drained.
Walkthrough
We walk you through your new shelter — door operation, latching system, interior features, and maintenance. Any required municipal inspection is the homeowner's responsibility to schedule.
Real Installations
Frequently Asked Questions
How long does installation take?
Who is responsible for the building permit?
Will my yard be damaged?
Can the door be opened if debris lands on it?
"A shelter is only as reliable as its installation."